Visual Studio Walkthrough
In this walkthrough we’ll create an application called Phoneword that translates an alphanumeric phone number into a numeric phone number.
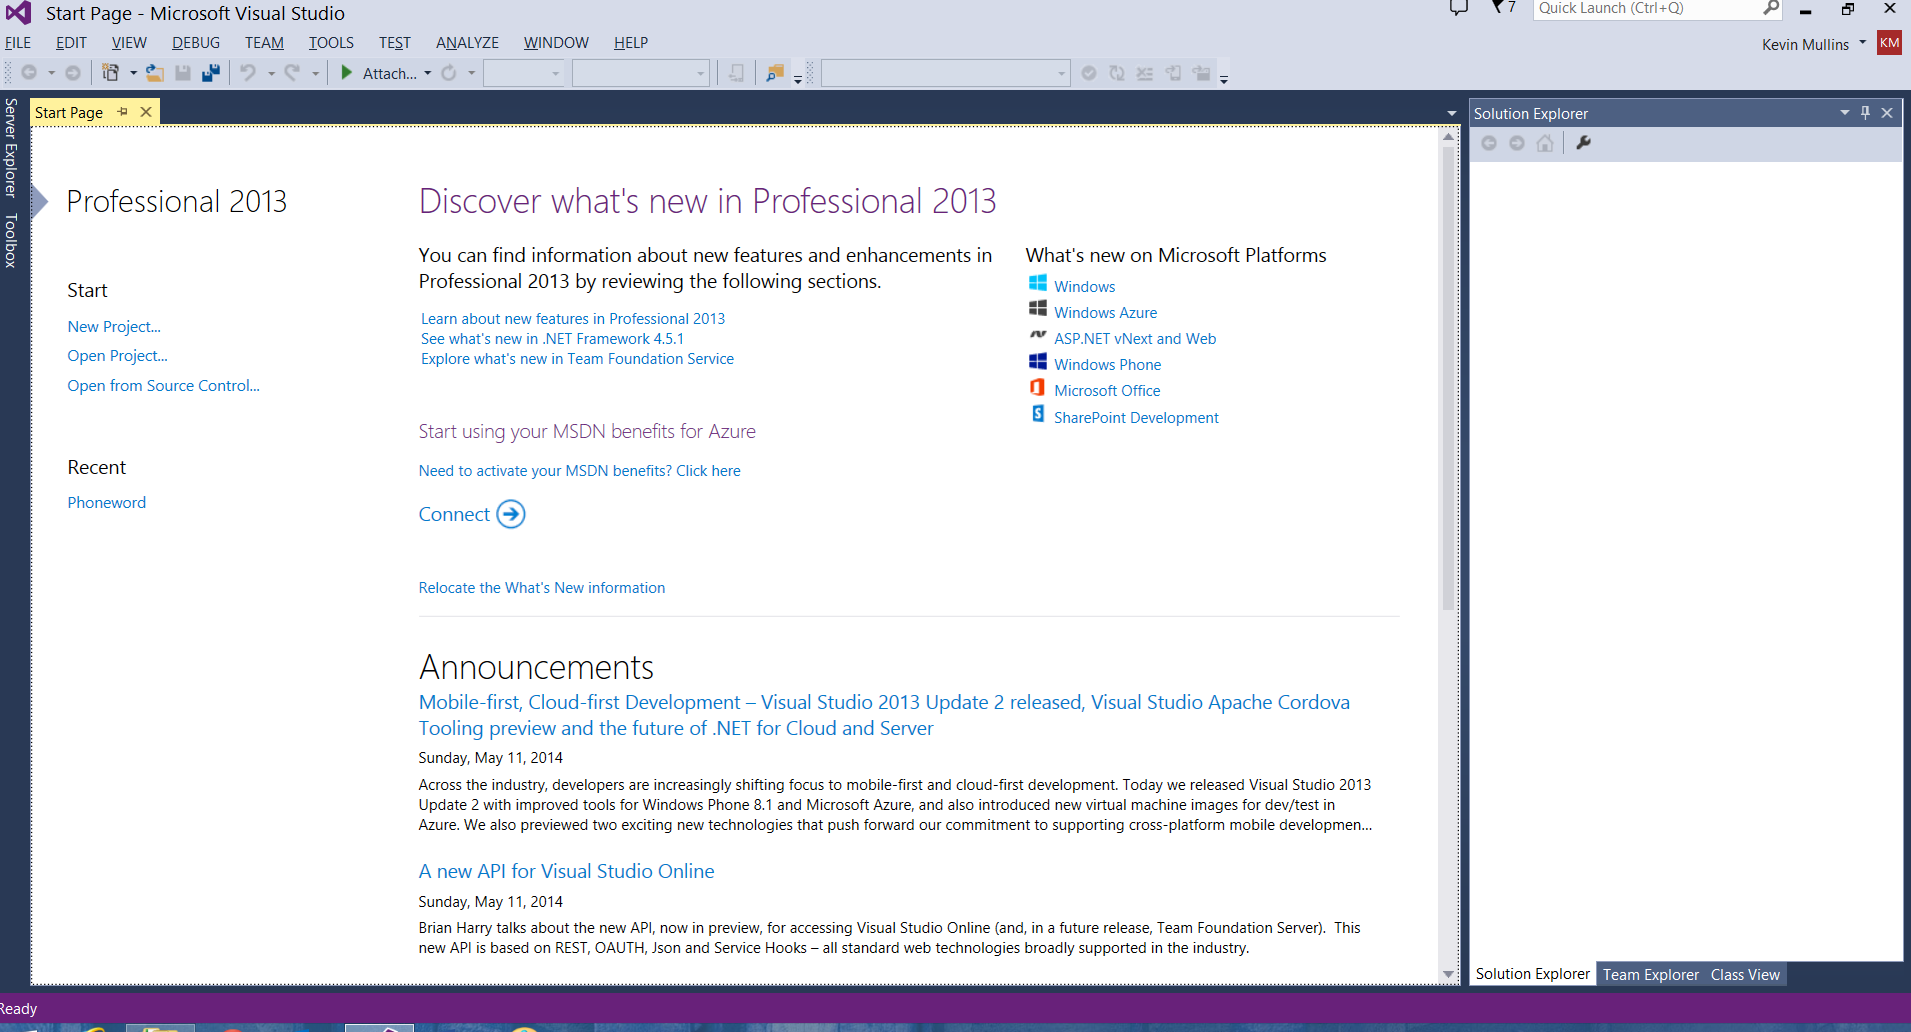
Let’s launch Visual Studio from the Start menu:
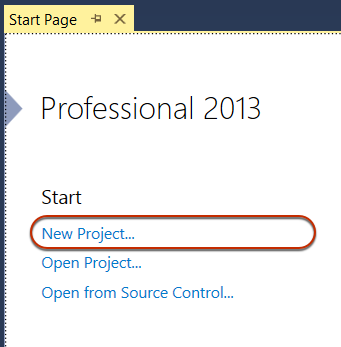
In the top left, let’s click New Solution... to create a new Xamarin.iOS solution.
From the New Solution dialog, we’ll choose the Visual C# > iOS > iPhone > Single View Application template. We'll name the Project
Phoneword_iOSand the new SolutionPhoneword, as illustrated below: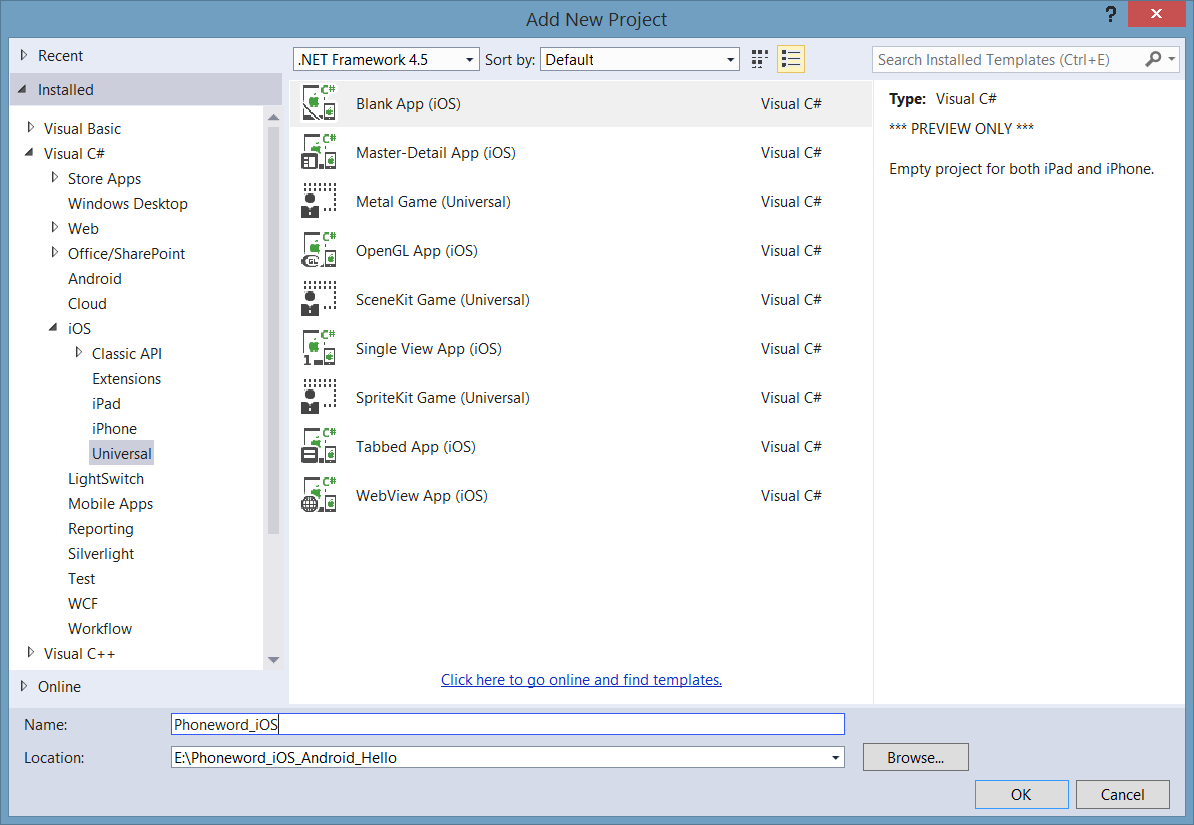
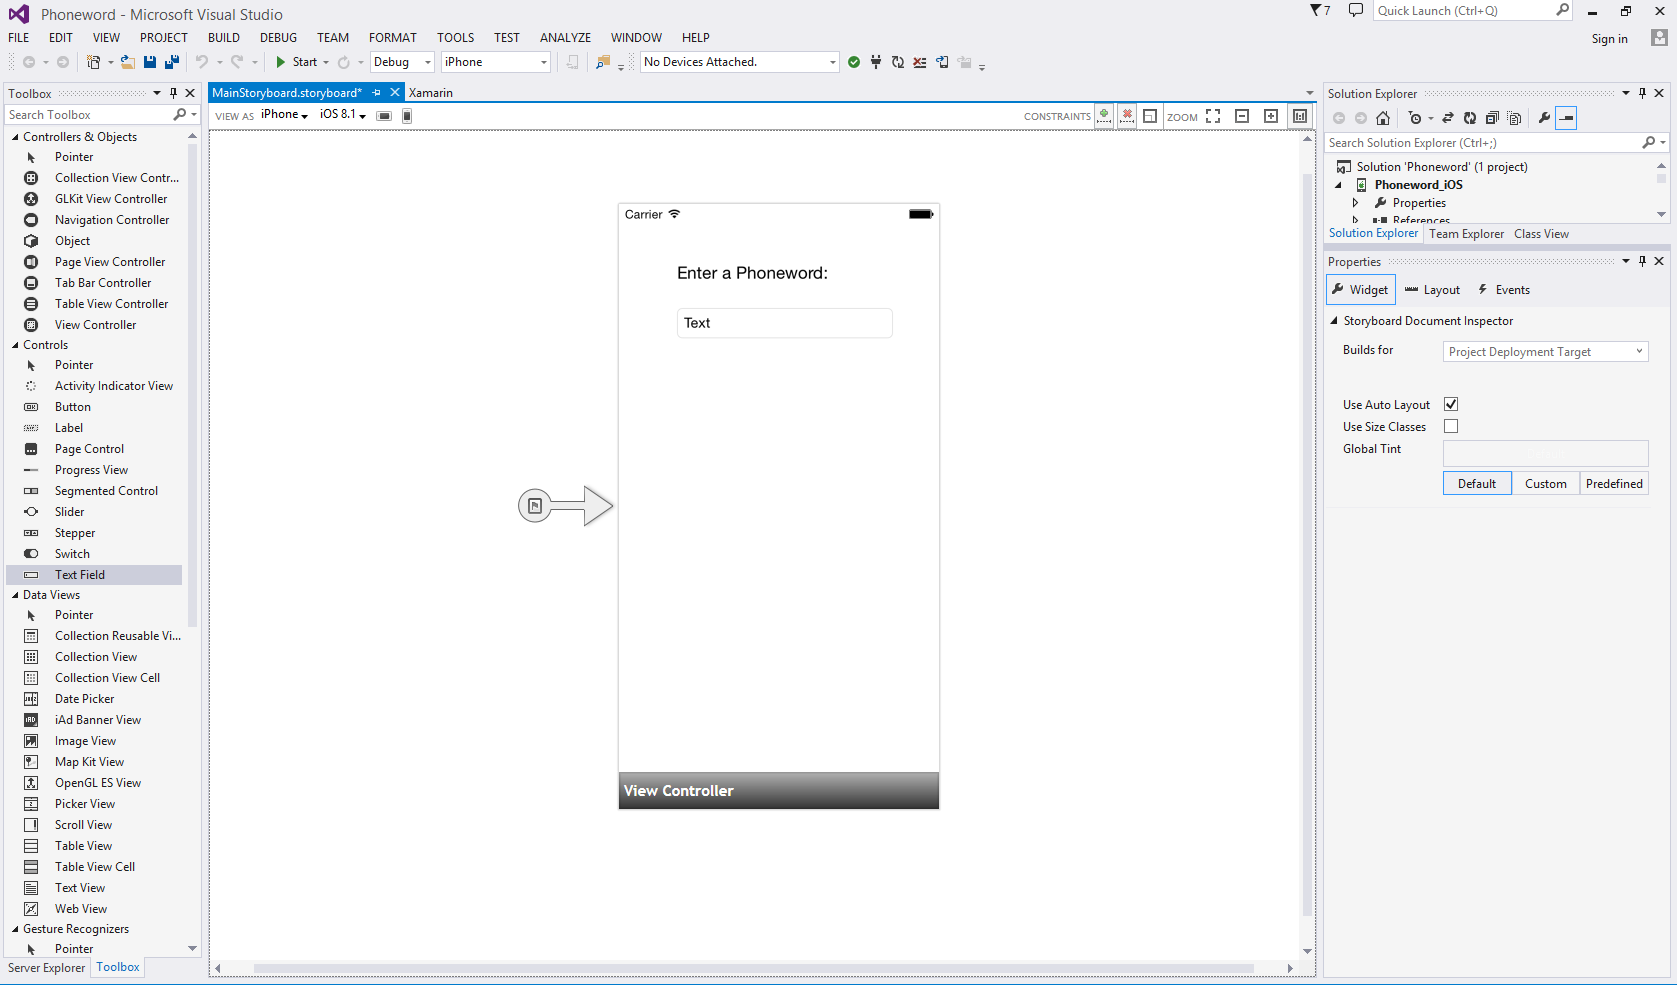
Next, we’ll open the MainStoryboard.storyboard file by double-clicking on it in the Solution Pane:
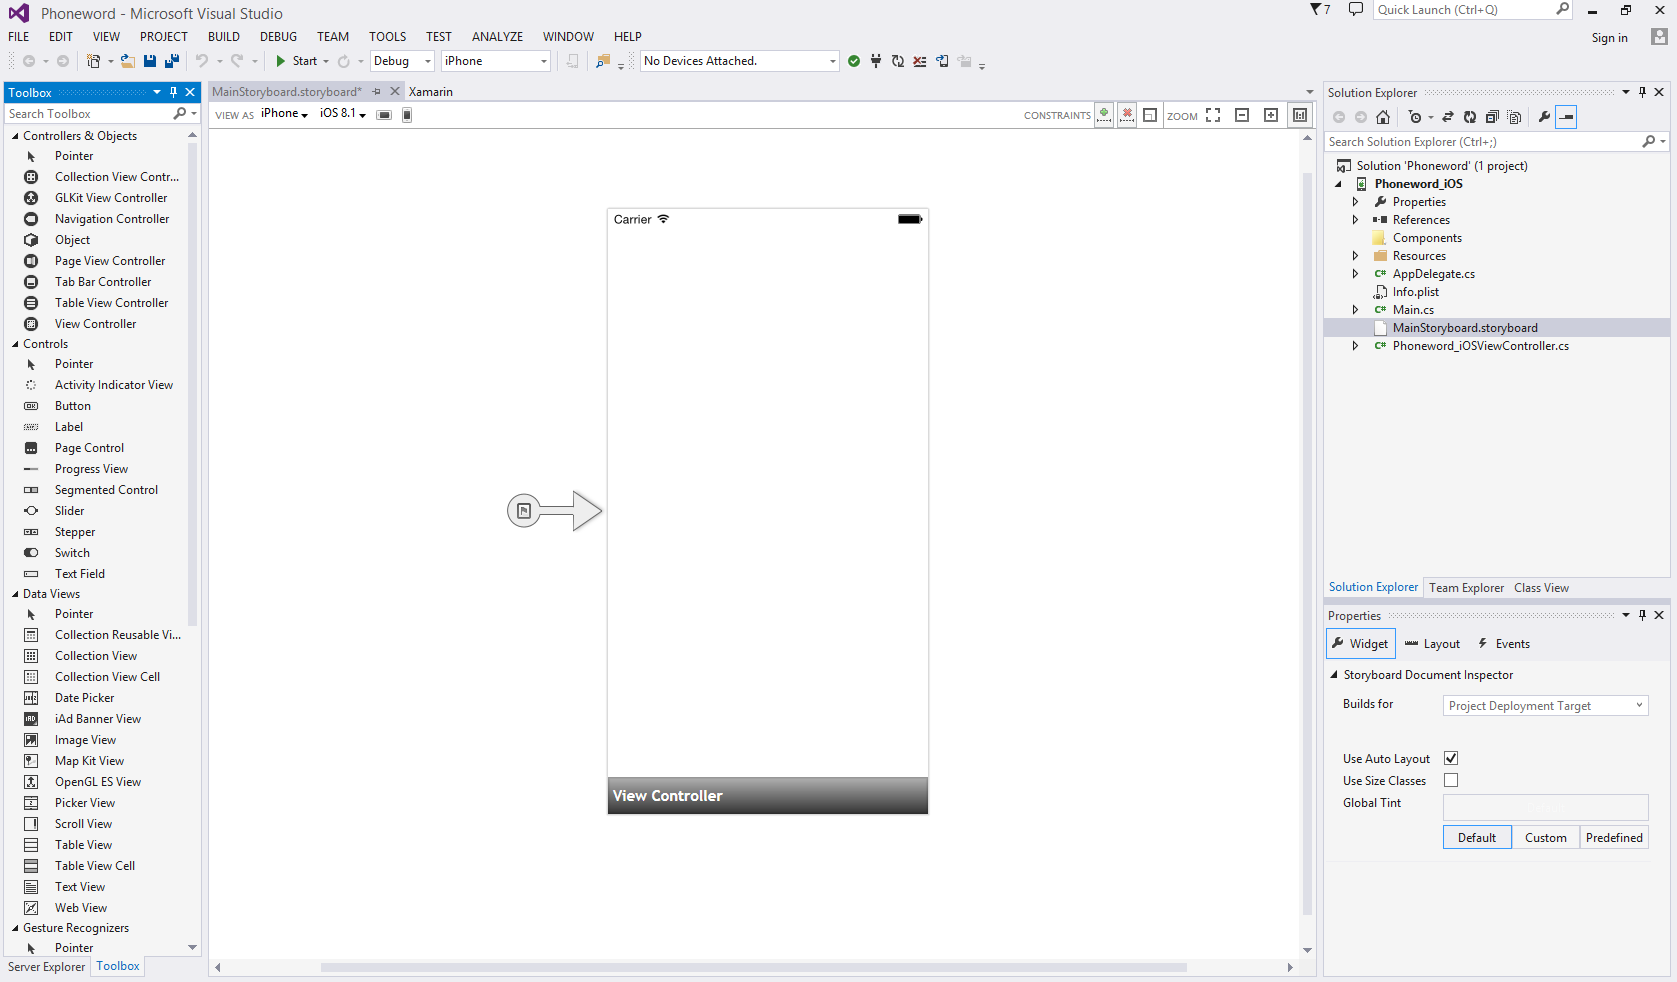
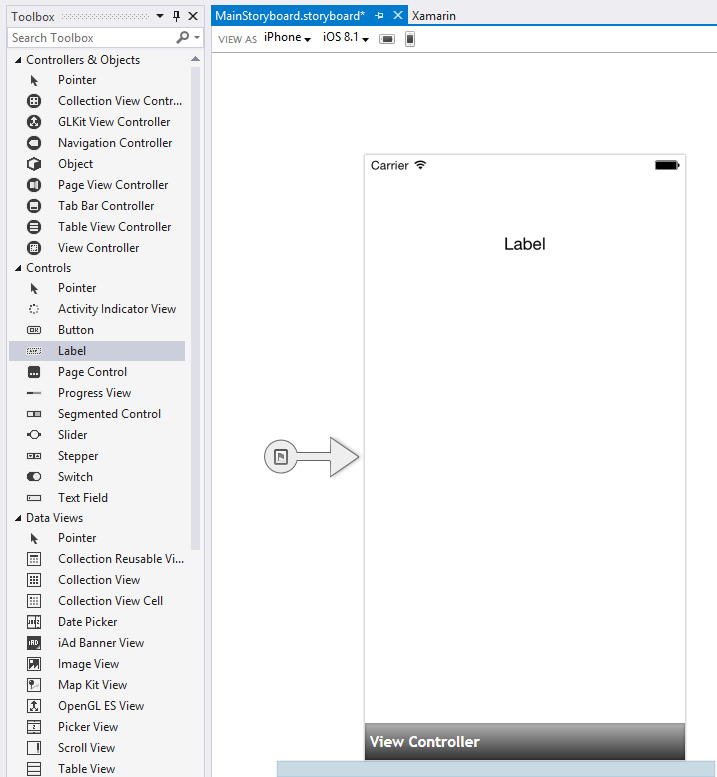
From the Toolbox (the area on the left), let’s type “label” into the search bar and drag a Label onto the design surface (the area in the center):
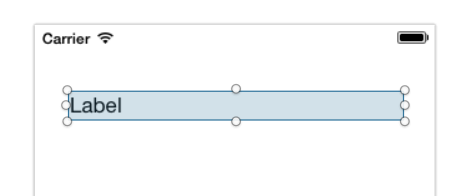
Next, grab the handles of the Dragging Controls (the circles around the control) and make the label wider:
With the Label selected on the design surface, use the Properties Pane to change the Title property of the Label to "Enter a Phoneword:"
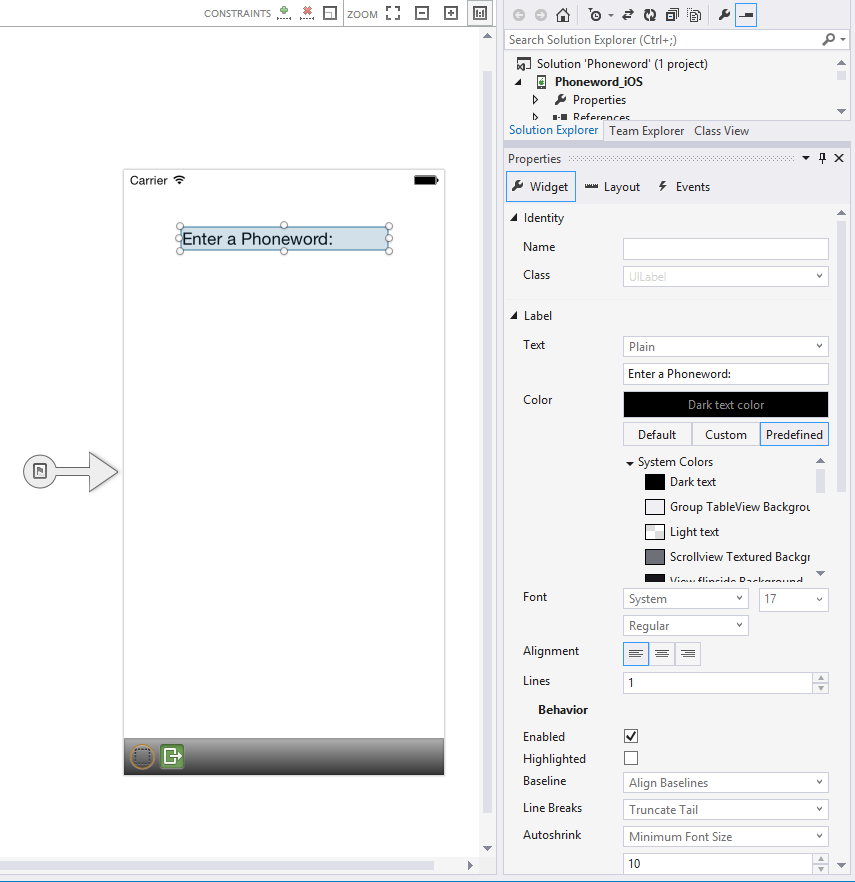 Note: You can bring up the Properties or Toolbox at any time by navigating to the View menu.
Next, let’s search for “text field” inside the Toolbox and drag a Text Field from the Toolbox onto the design surface and place it under the Label. Adjust the width until the Text Field is the same width as the Label:
With the Text Field selected on the design surface, change the Text Field’s Name property in the Identity section of the Properties to
PhoneNumberText, and change the Title property to "1-855-XAMARIN":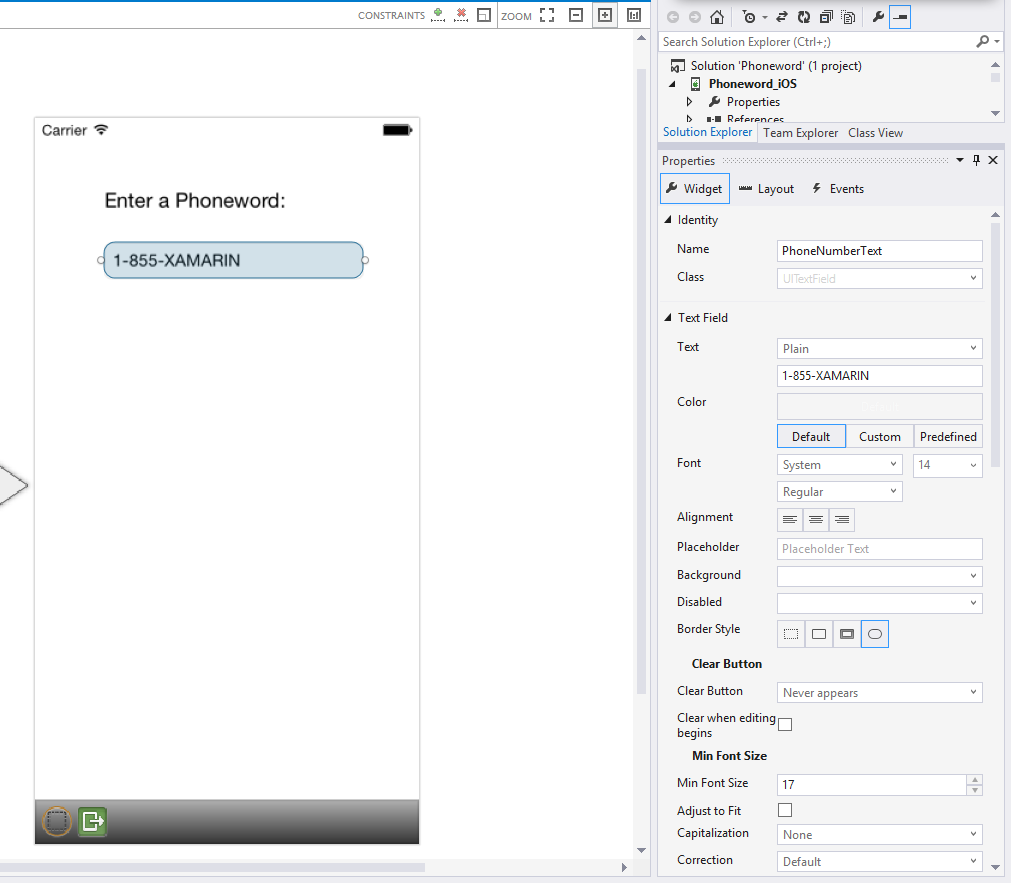
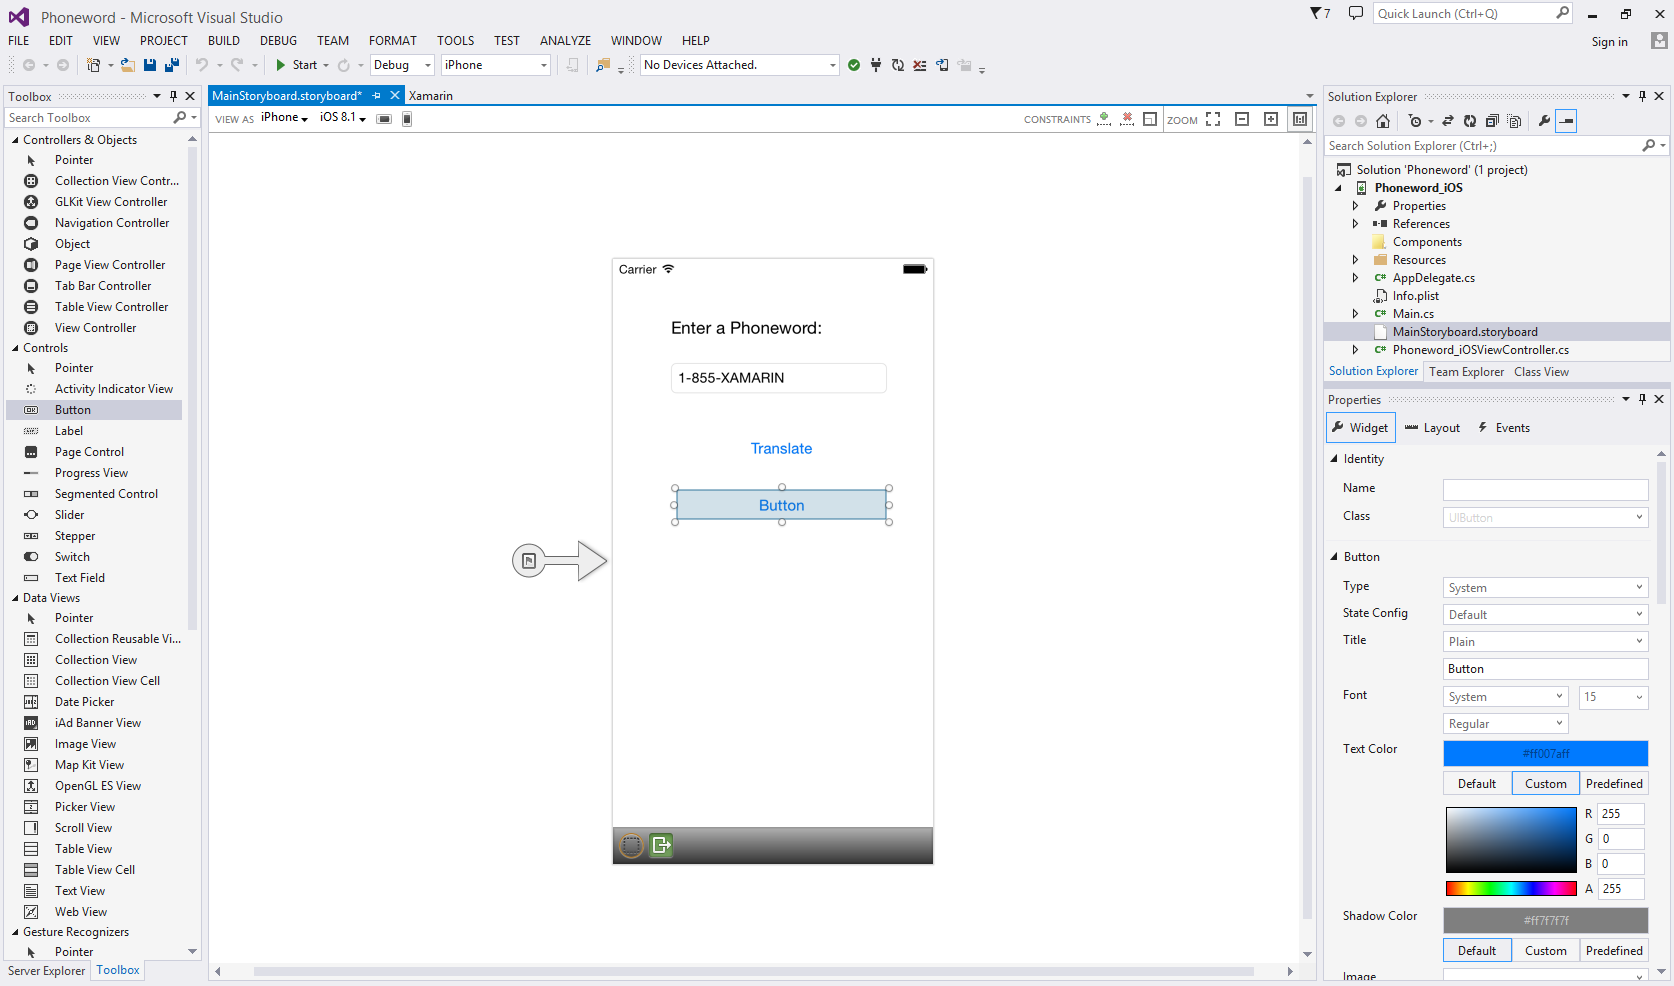
Next, drag a Button from the Toolbox onto the design surface and place it under the Text Field. Adjust the width so the Button is as wide as the Text Field and Label:
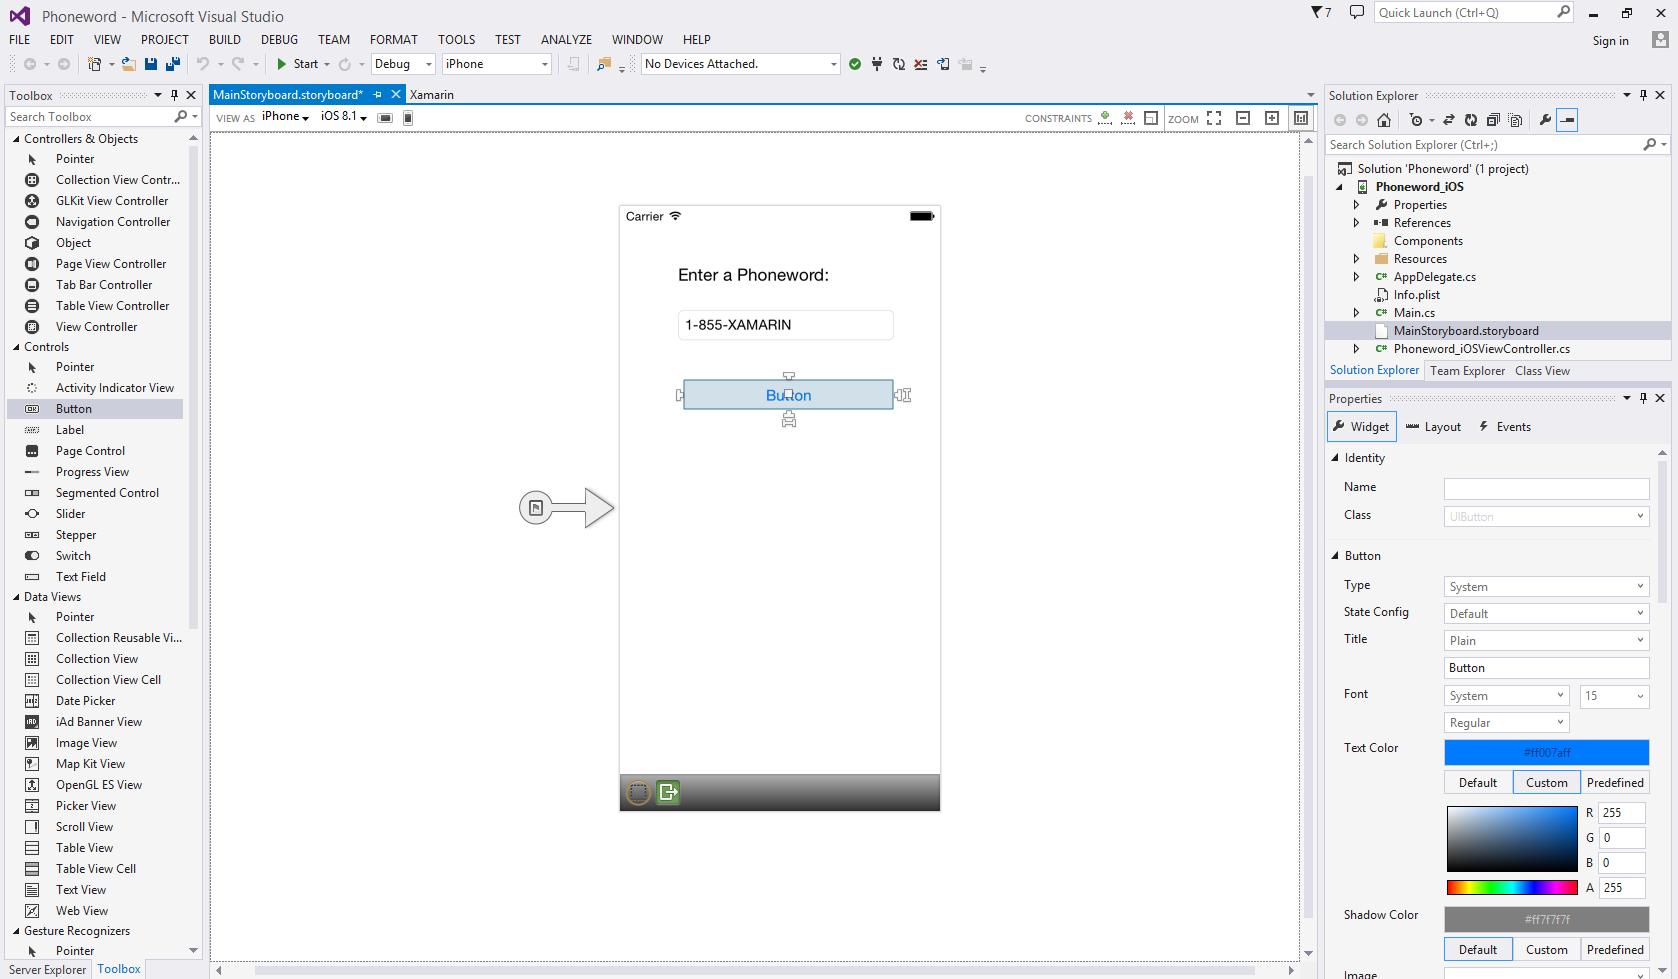
With the Button selected on the design surface, change the Name property in the Identity section of the Properties to
TranslateButton. Change the Title property to "Translate":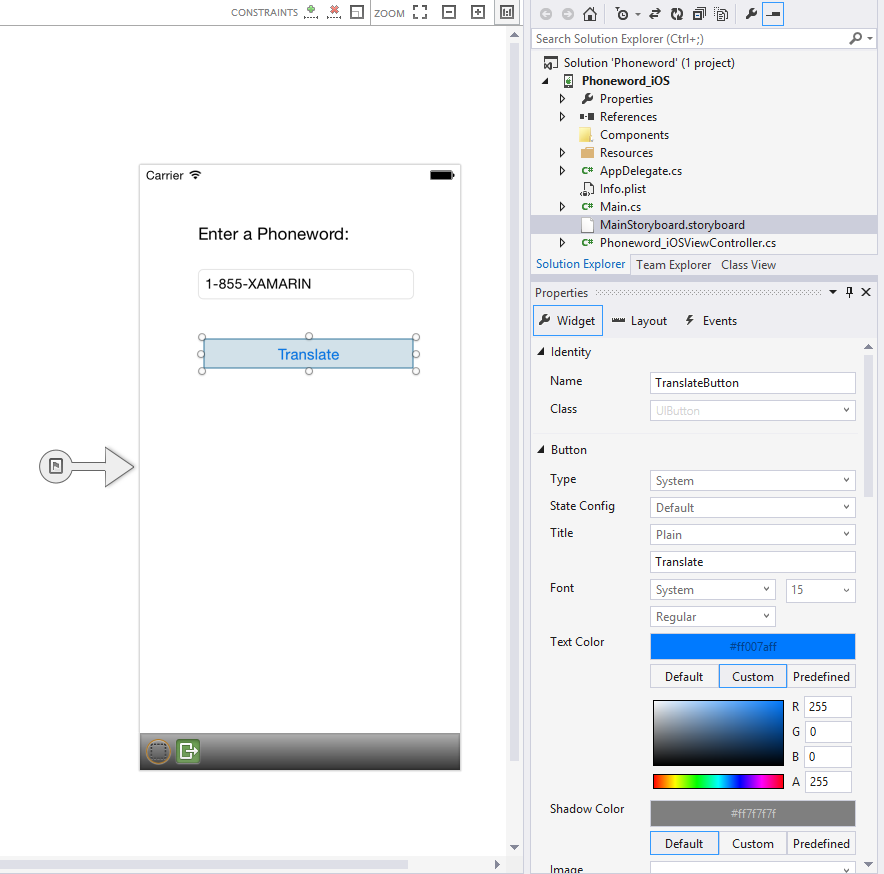
Let’s repeat the two steps above and drag a Button from the Toolbox onto the design surface and place it under the first Button. Adjust the width so the Button is as wide as the first Button:
With the second Button selected on the design surface, we’ll change the Name property in the Identity section of the Properties to
CallButton. We’ll change the Title property to "Call":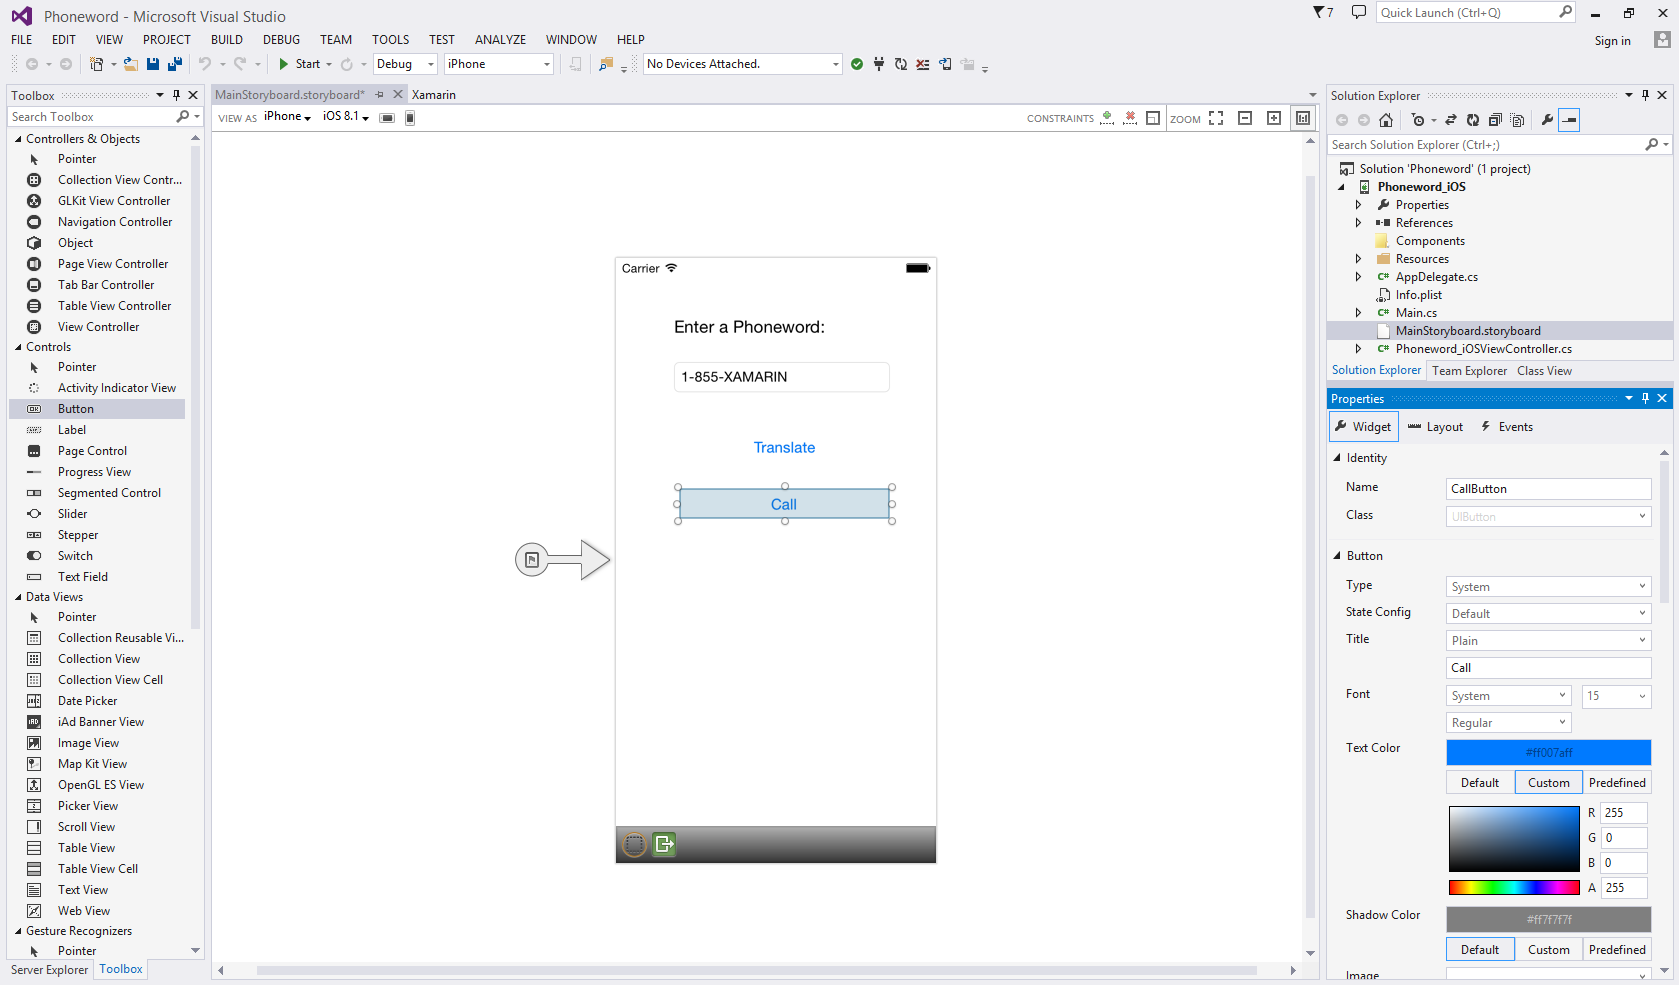
Let’s save our work by navigating to File > Save or by pressing Ctrl + s.
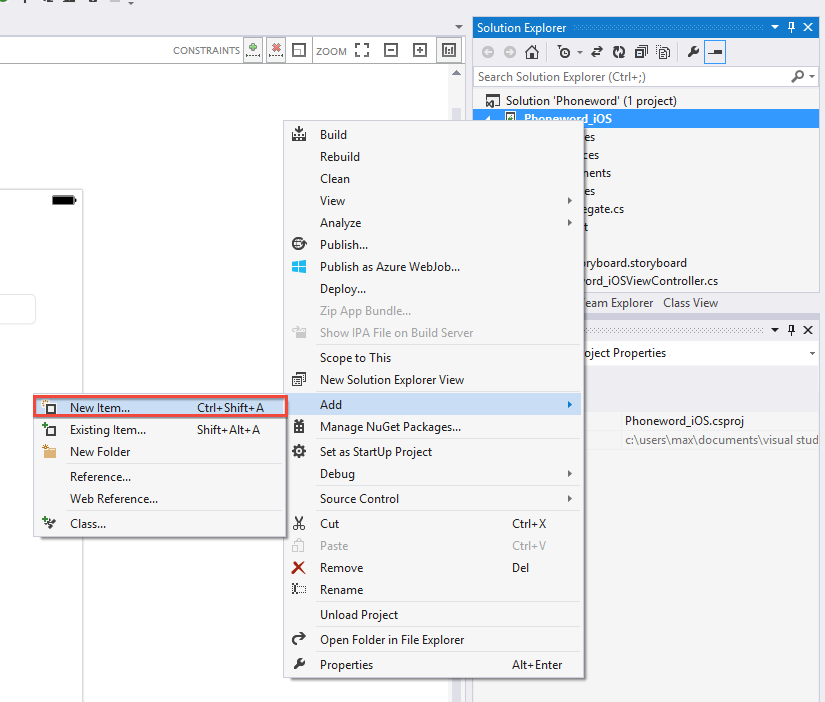
Now, let’s add some code to translate phone numbers from alphanumeric to numeric. We’ll add a new file to the Project by right-clicking on the Phoneword_iOS Project in the Solution Explorer and choosing Add > New File... or pressing Ctrl + n:
In the New File dialog, select Visual C# > Empty Class and name the new file
PhoneTranslator: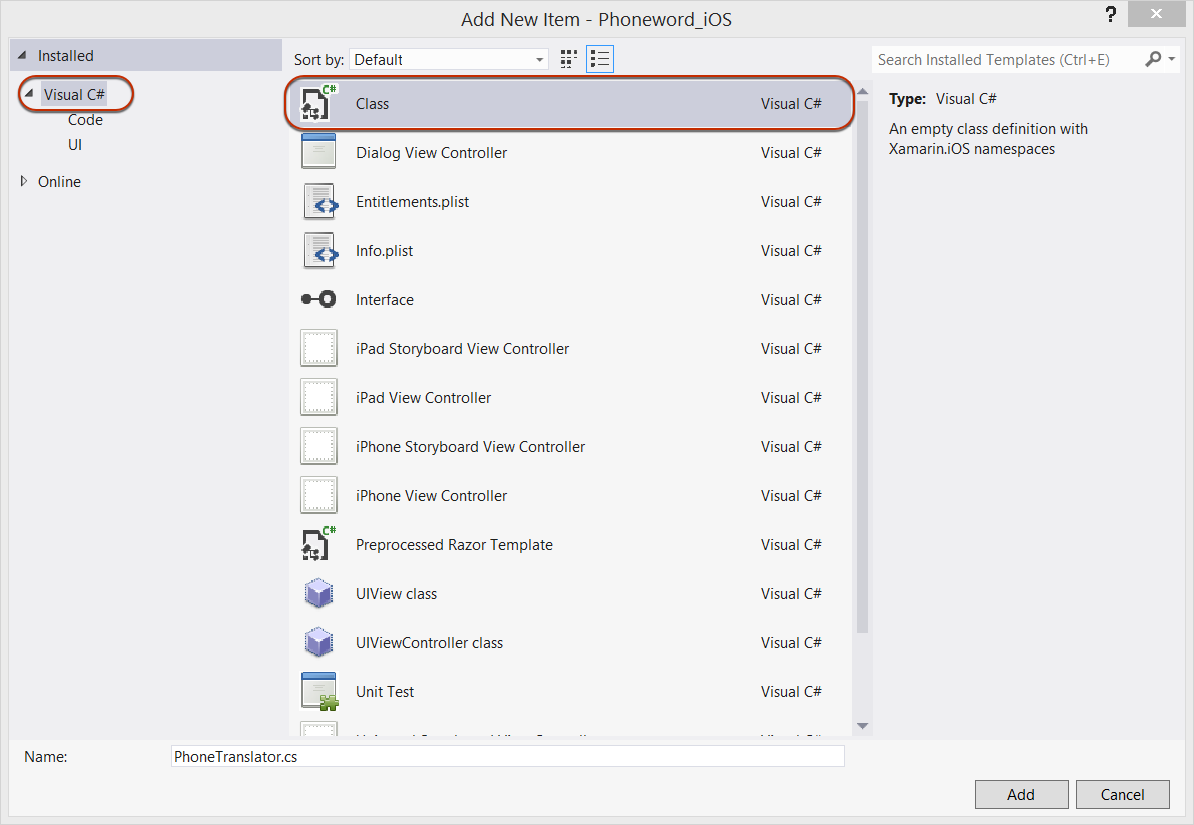
This creates a new empty C# class for us. Remove all the template code and replace it with the following code:
using System.Text;
using System;

namespace Core
{
    public static class PhonewordTranslator
    {
        public static string ToNumber(string raw)
        {
            if (string.IsNullOrWhiteSpace(raw))
                return "";
            else
                raw = raw.ToUpperInvariant();

            var newNumber = new StringBuilder();
            foreach (var c in raw)
            {
                if (" -0123456789".Contains(c))
                    newNumber.Append(c);
                else {
                    var result = TranslateToNumber(c);
                    if (result != null)
                        newNumber.Append(result);
                }
                // otherwise we've skipped a non-numeric char
            }
            return newNumber.ToString();
        }

        static bool Contains (this string keyString, char c)
        {
            return keyString.IndexOf(c) >= 0;
        }

        static int? TranslateToNumber(char c)
        {
            if ("ABC".Contains(c))
                return 2;
            else if ("DEF".Contains(c))
                return 3;
            else if ("GHI".Contains(c))
                return 4;
            else if ("JKL".Contains(c))
                return 5;
            else if ("MNO".Contains(c))
                return 6;
            else if ("PQRS".Contains(c))
                return 7;
            else if ("TUV".Contains(c))
                return 8;
            else if ("WXYZ".Contains(c))
                return 9;
            return null;
        }
    }
}
Save the PhoneTranslator.cs file and close it.
Next we’re going to add code to wire up the user interface. Let’s add the backing code into the Phoneword_iOSViewController class. Double-click on Phoneword_iOSViewController.cs in the Solution Explorer to open it:
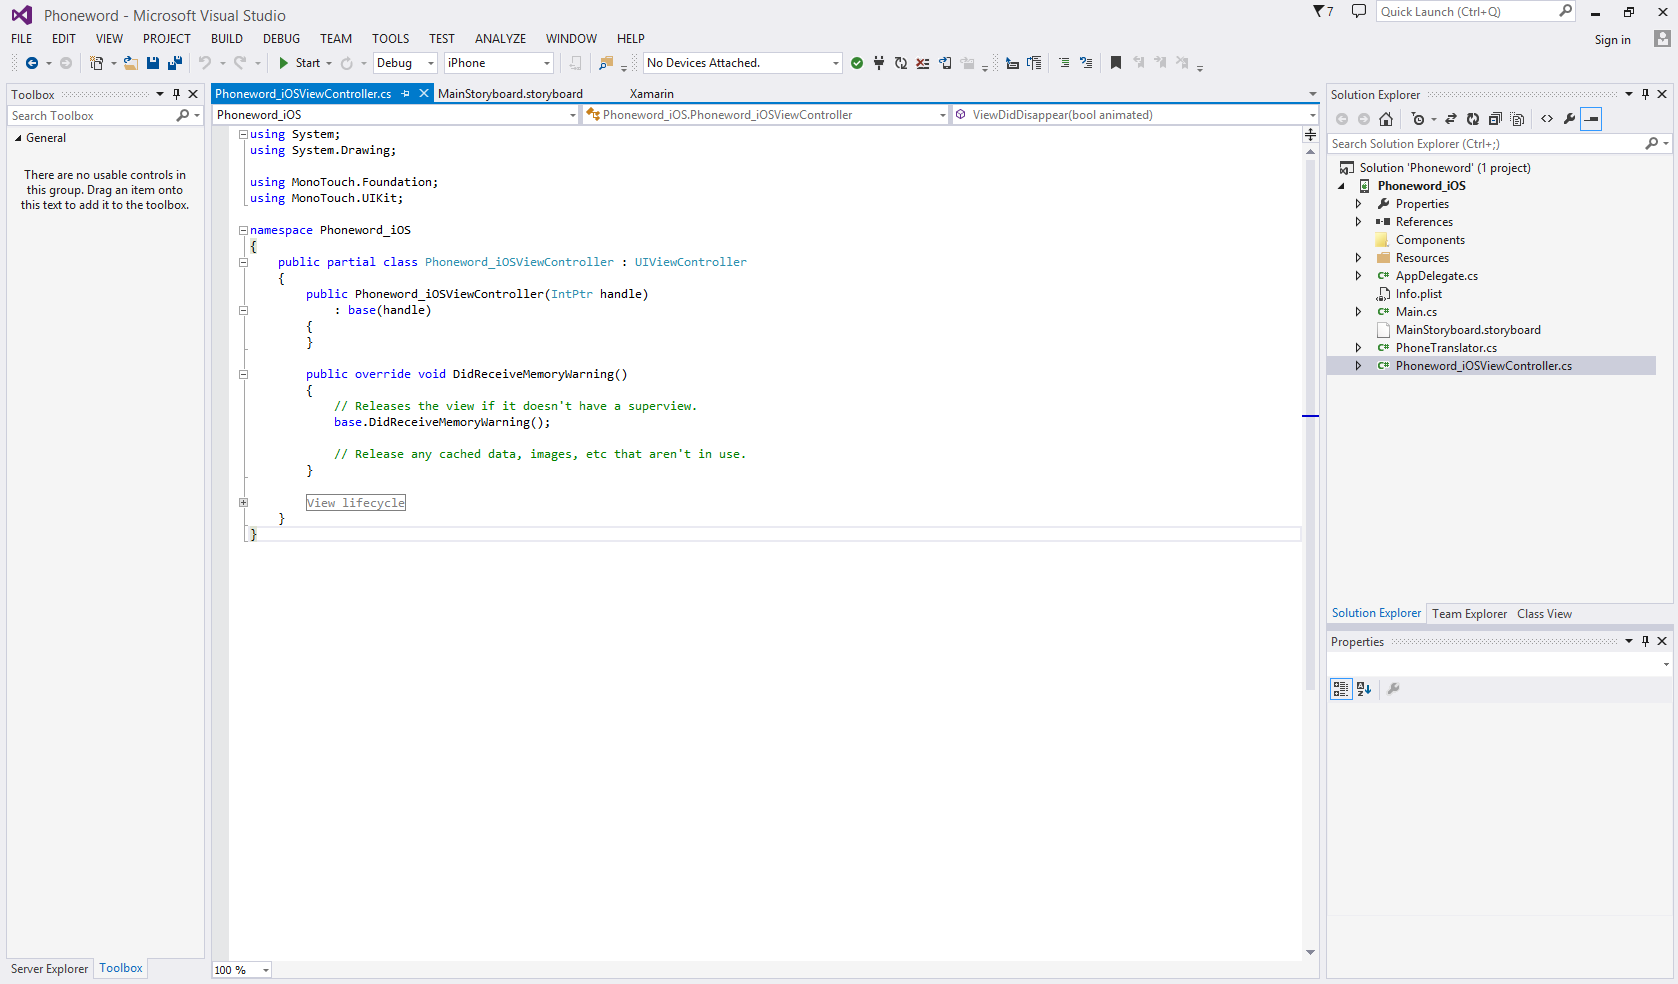
Let’s begin by wiring up the
TranslateButton. In the Phoneword_iOSViewController class, find theViewDidLoadmethod. We will add our button code insideViewDidLoad, below thebase.ViewDidLoad()call:public override void ViewDidLoad () { base.ViewDidLoad (); // code goes here }Let’s add code to respond to the user pressing the first button, which we’ve named
TranslateButton. PopulateViewDidLoadwith the following code:string translatedNumber = ""; TranslateButton.TouchUpInside += (object sender, EventArgs e) => { // Convert the phone number with text to a number // using PhoneTranslator.cs translatedNumber = Core.PhonewordTranslator.ToNumber( PhoneNumberText.Text); // Dismiss the keyboard if text field was tapped PhoneNumberText.ResignFirstResponder (); if (translatedNumber == "") { CallButton.SetTitle ("Call", UIControlState.Normal); CallButton.Enabled = false; } else { CallButton.SetTitle ("Call " + translatedNumber, UIControlState.Normal); CallButton.Enabled = true; } };Next let’s add code to respond to the user pressing the second button, which we’ve named
CallButton. Place the following code below the code for theTranslateButton:CallButton.TouchUpInside += (object sender, EventArgs e) => { var url = new NSUrl ("tel:" + translatedNumber); // Use URL handler with tel: prefix to invoke Apple's Phone app, // otherwise show an alert dialog if (!UIApplication.SharedApplication.OpenUrl (url)) { var alert = UIAlertController.Create ("Not supported", "Scheme 'tel:' is not supported on this device", UIAlertControllerStyle.Alert); alert.AddAction (UIAlertAction.Create ("Ok", UIAlertActionStyle.Default, null)); PresentViewController (alert, true, null); } };Let’s save our work, and then build the application by choosing Build > Build Solution or pressing Ctrl + Shift + B. If our application compiles, we will get a success message at the bottom of the IDE:
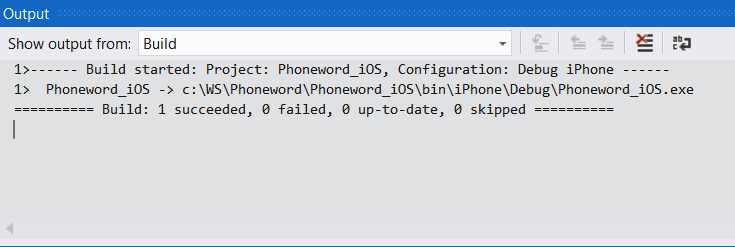
If there are errors, we can go through the previous steps and correct any mistakes until the application builds successfully.
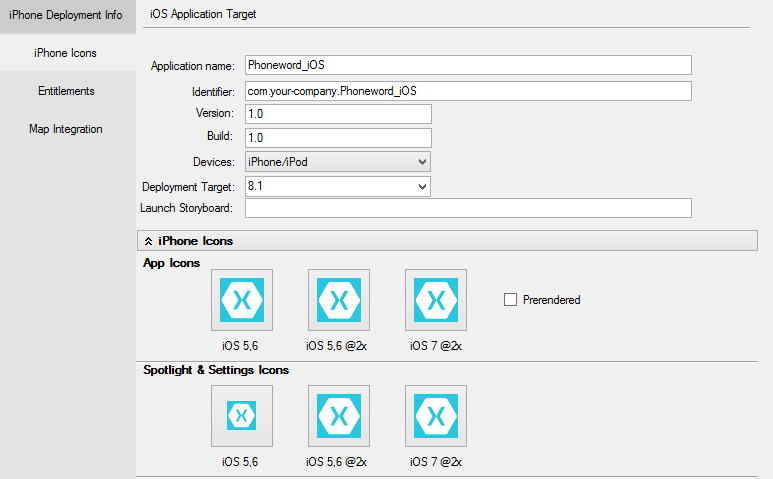
We now have a working application and it’s time to add the finishing touches! We can edit the application name and icons in the Info.plist file. Let’s open Info.plist by double-clicking on it in the Solution Explorer:
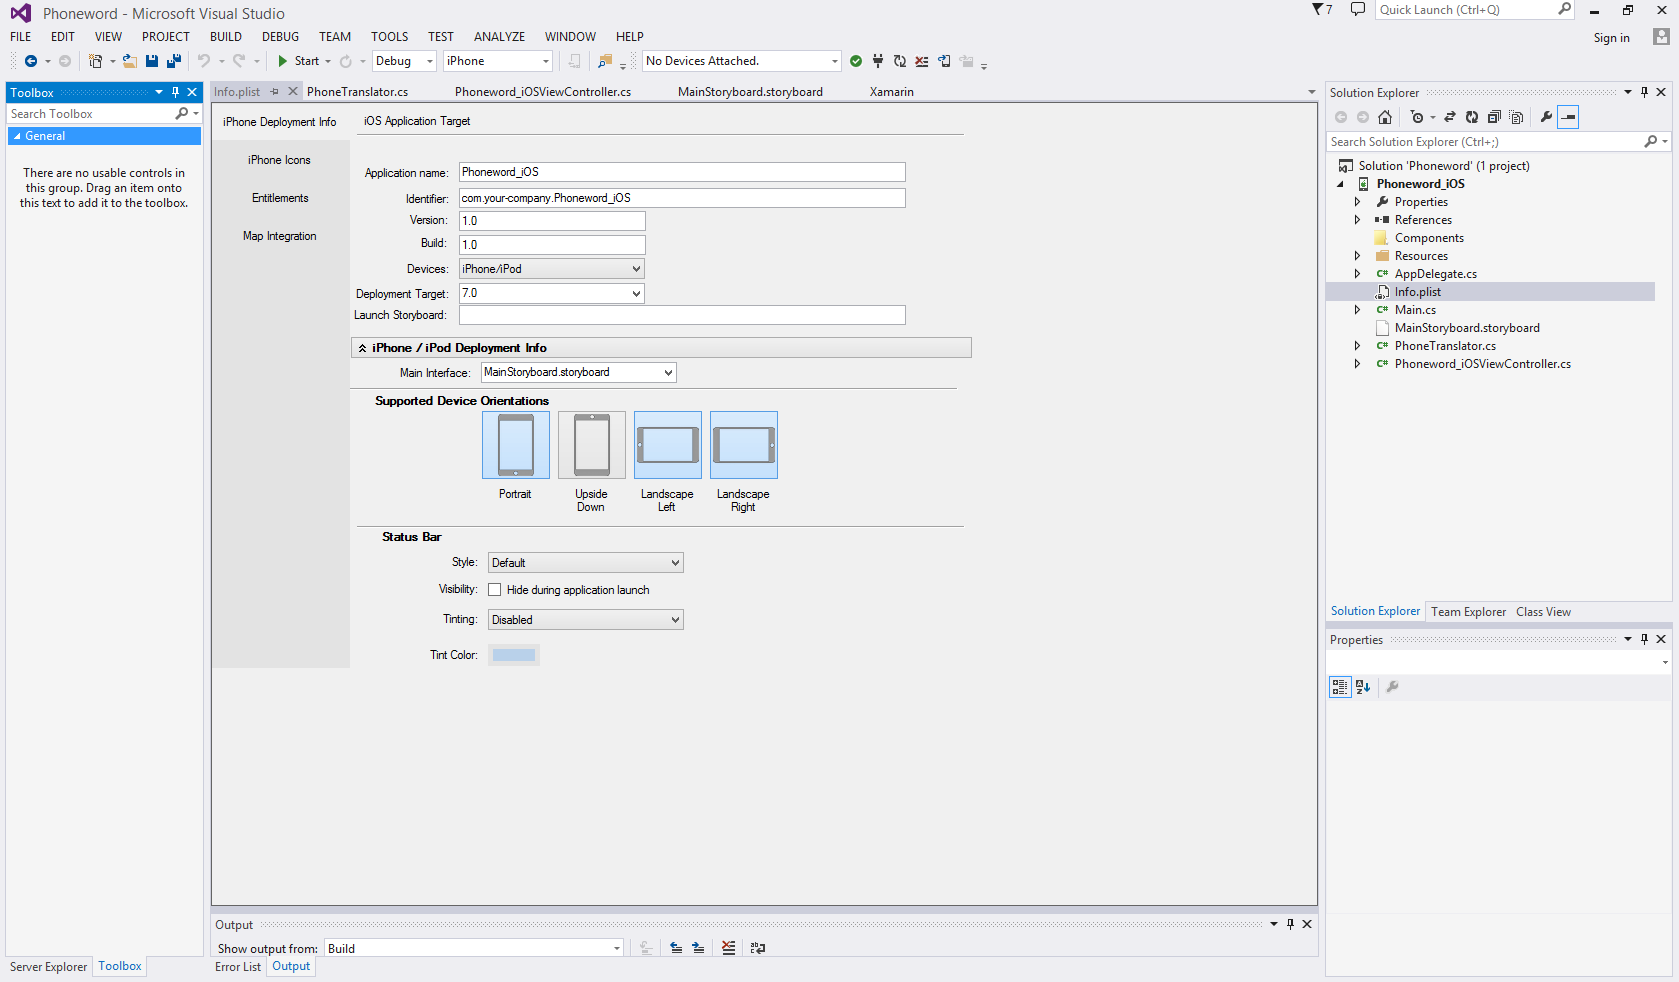
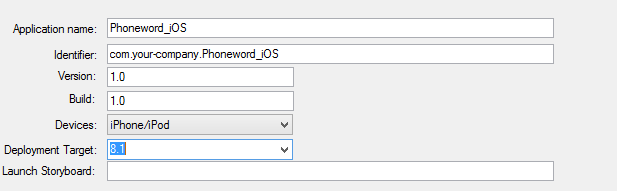
In the iOS Application Target section, let’s change the Application Name to "Phoneword":
To set application icons and launch images, first download the Xamarin App Icons & Launch Screens set. In the iPhone Icons section, click directly on the (57x57) icon placeholder and select the matching icon from the Xamarin App Icons & Launch Images directory:
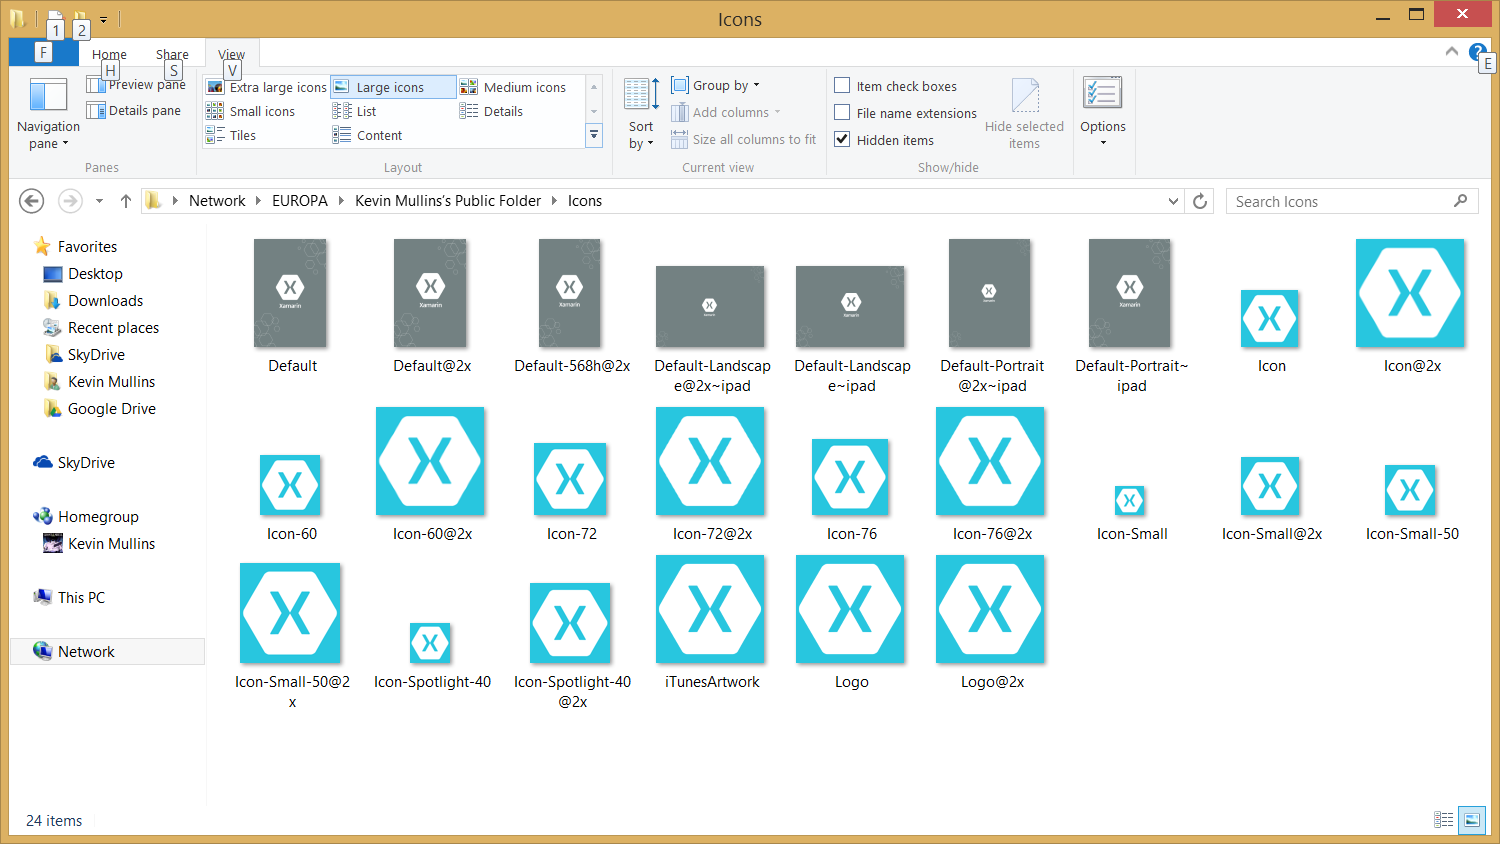
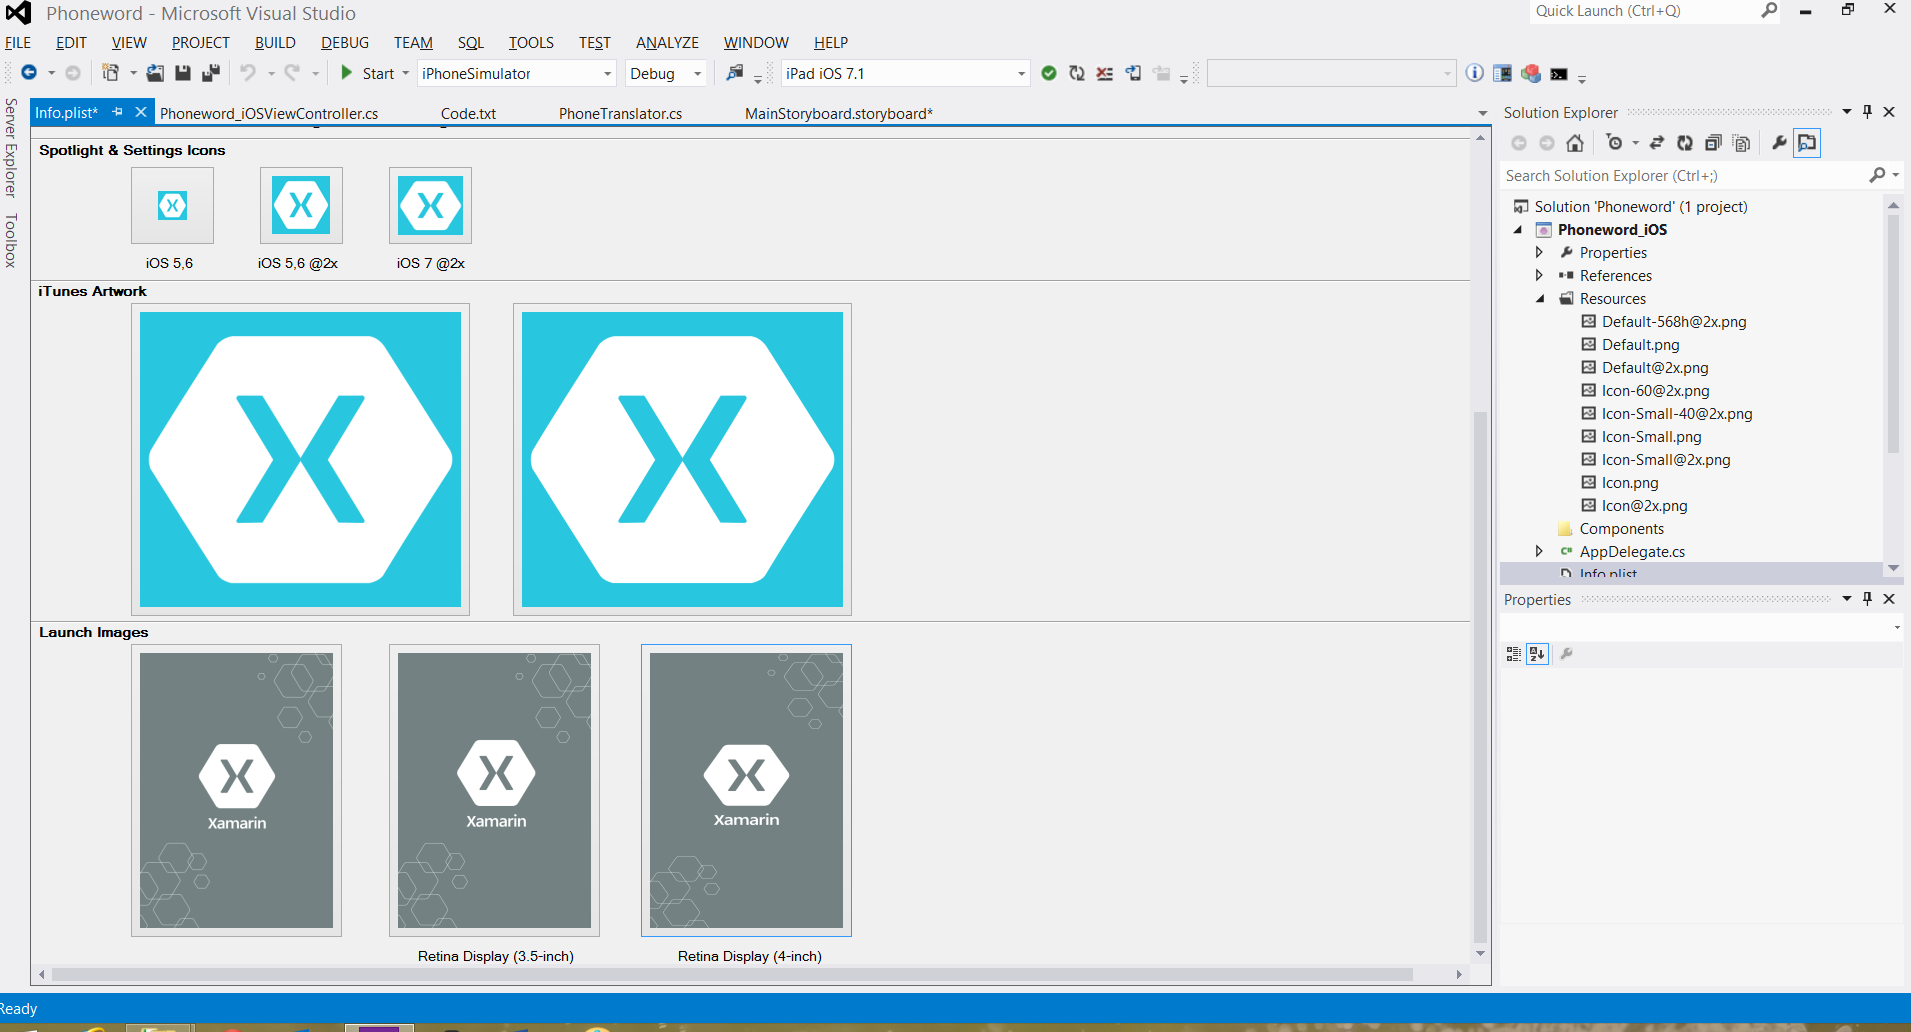
Let’s continue filling in all six icons. Visual Studio will replace the placeholders with our icons:
Next let’s set the launch images. We’ll assign Default.png to the standard resolution (620x482) placeholder, Default@2x.png to the Retina (3.5-inch) placeholder, and finally Default-568h@2x.png to the Retina (4-inch) placeholder:
The image names follow iOS naming conventions for images of different densities.
Finally, let’s test our application in the iOS Simulator. In the IDE toolbar, choose Debug and iPhone Retina (4-inch) iOS 7.x from the drop down menus, and press Start (the green triangle that resembles a Play button):

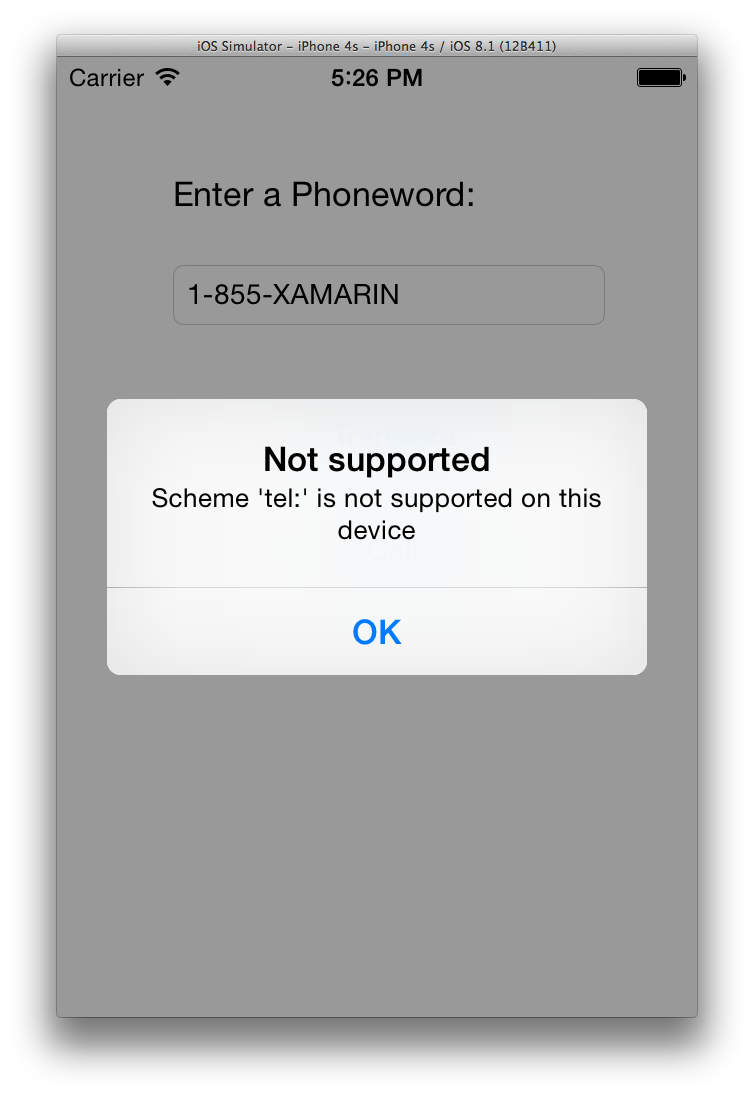
This will launch our application inside the iOS Simulator:
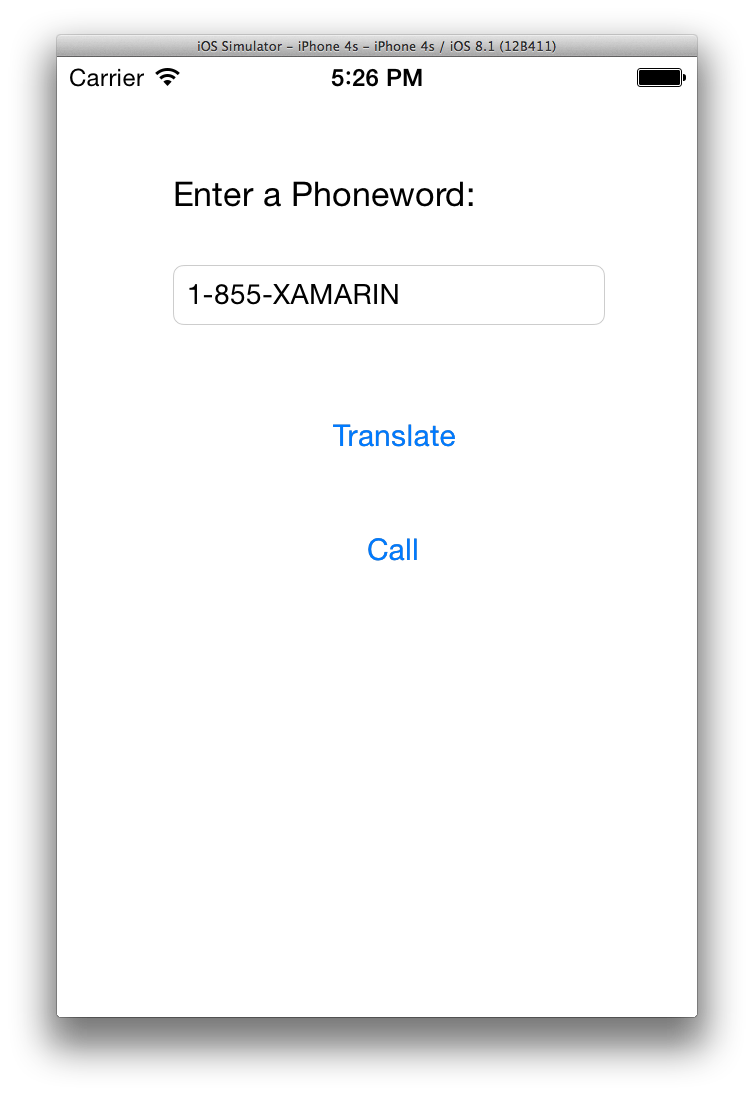
Phone calls are not supported in the iOS Simulator; instead, we’ll see our alert dialog when we try to place a call: